How to trigger a Jenkins build process by a GitHub push
Hello to our second blog post. This time we will cover how to set up a Jenkins job which builds a project of a GitHub repository. Additionally, the build process is automatically started when a contributor pushes to the respective GitHub repository.
Note: We assume that you have properly installed Jenkins including the GitHub plugin.
Creating a Jenkins job
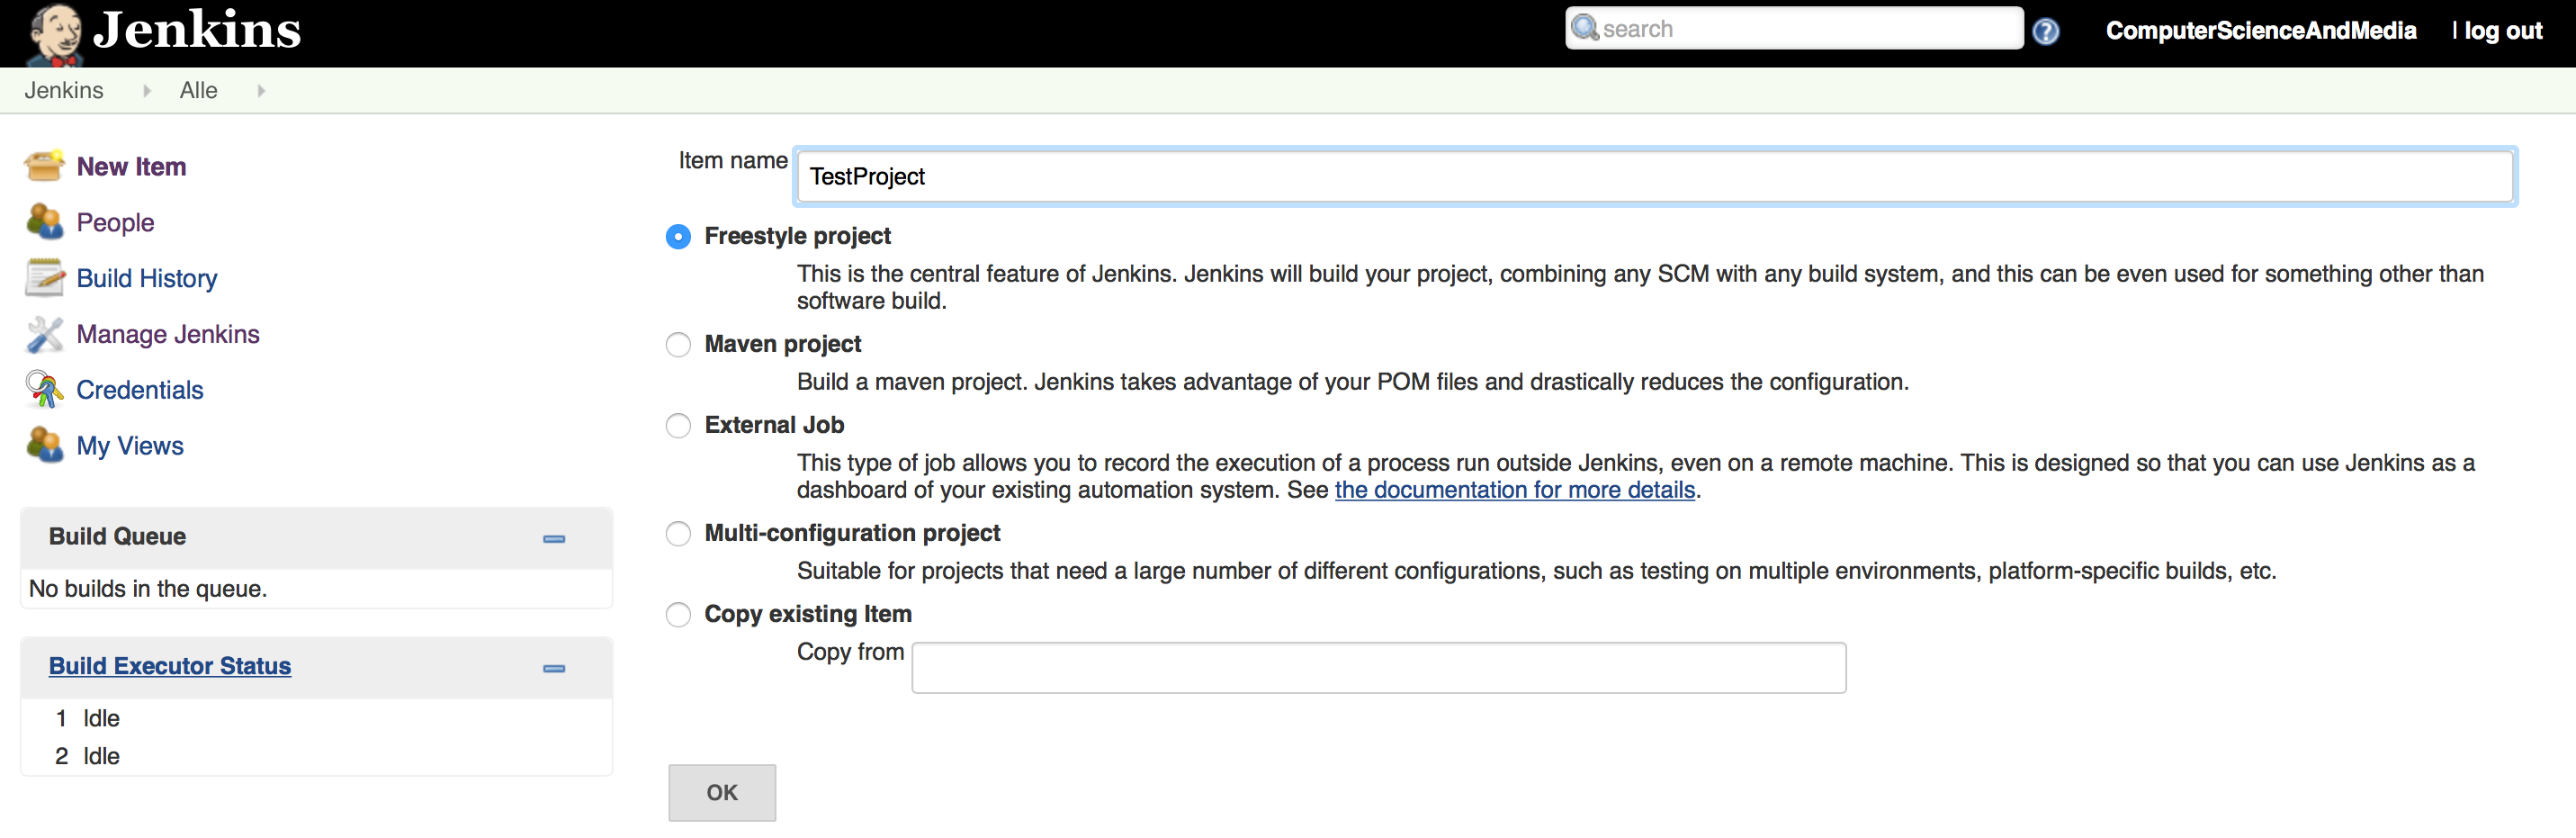
First of all, login to your Jenkins server. Then click on “New Item” and configure it suitable for your project. Name it and press “Ok”.
In the next view, feel free to enter a description for your project. It is necessary to enter the URL to your GitHub repository in the respective text field “GitHub Project”. The other options are mostly irrelevant for our goal, but you can read a detailed description of each by clicking on the question mark icon on the right side.
In the section “Source-Code-Management” select the “Git” option. If you don’t see it, check your GitHub Plugin installation. Enter the repository clone-URL in the appearing text field. When you are using a public GitHub repository, you don’t have to specify any credentials otherwise enter them.
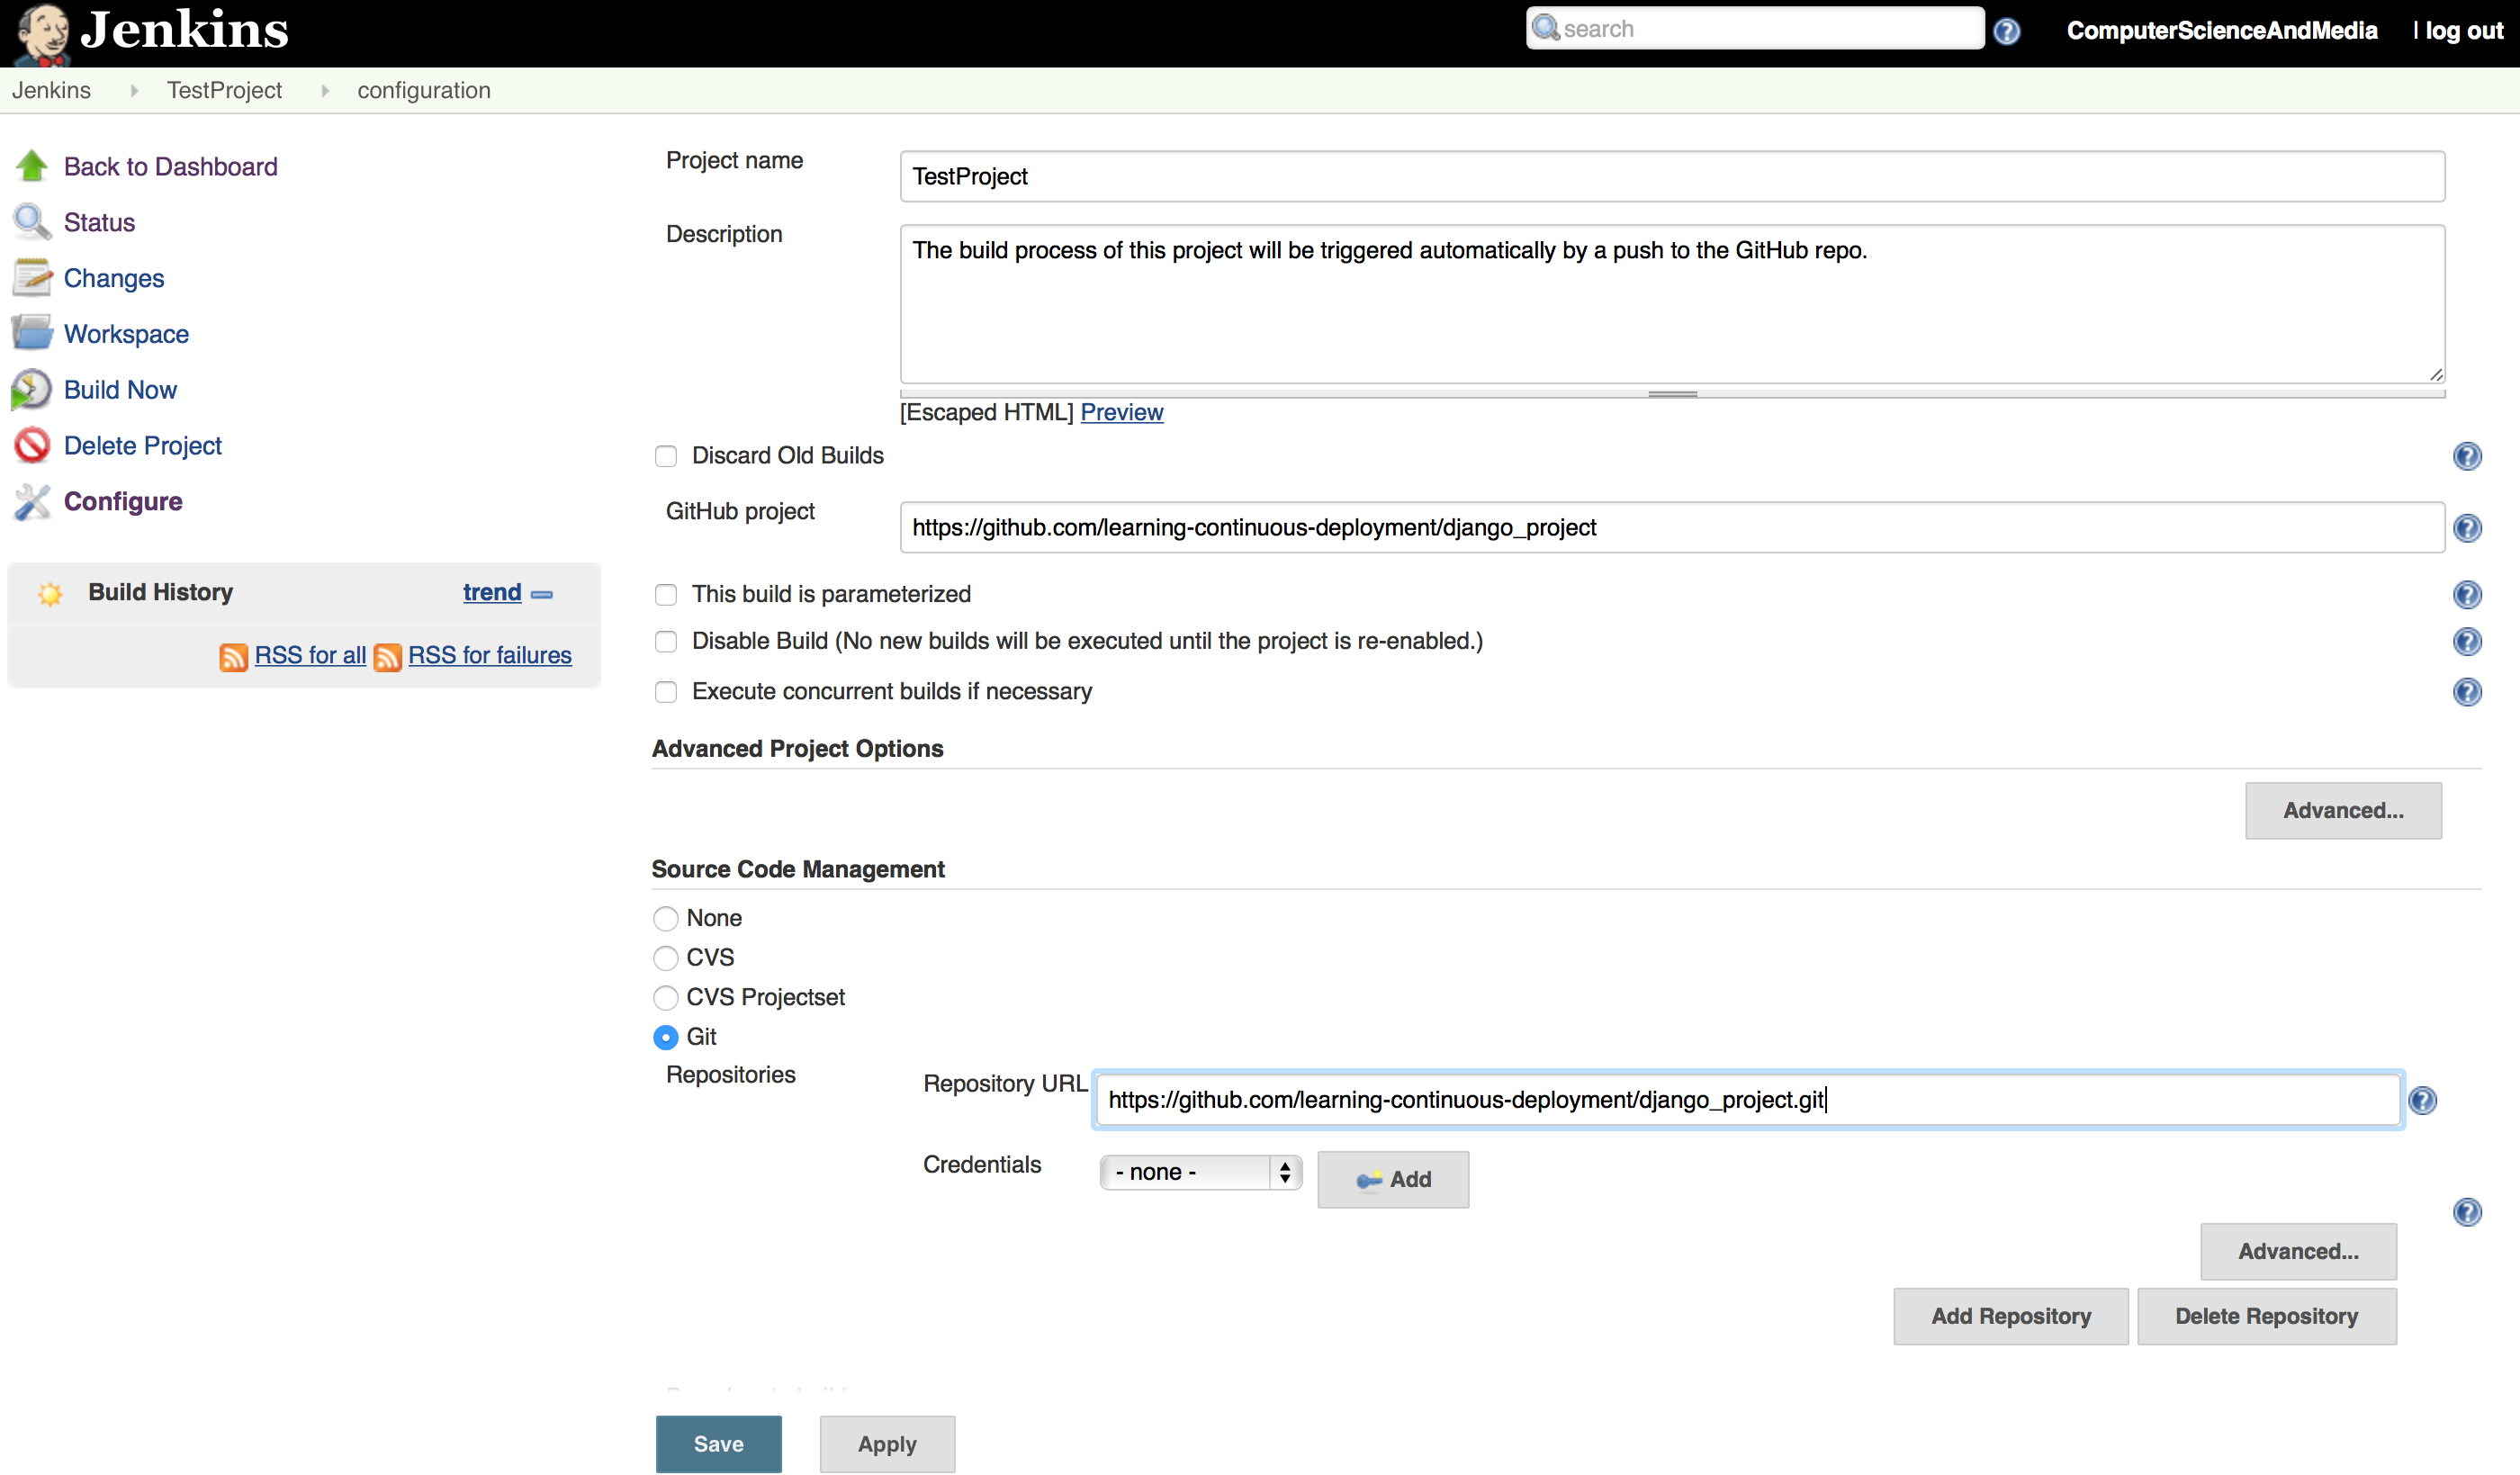
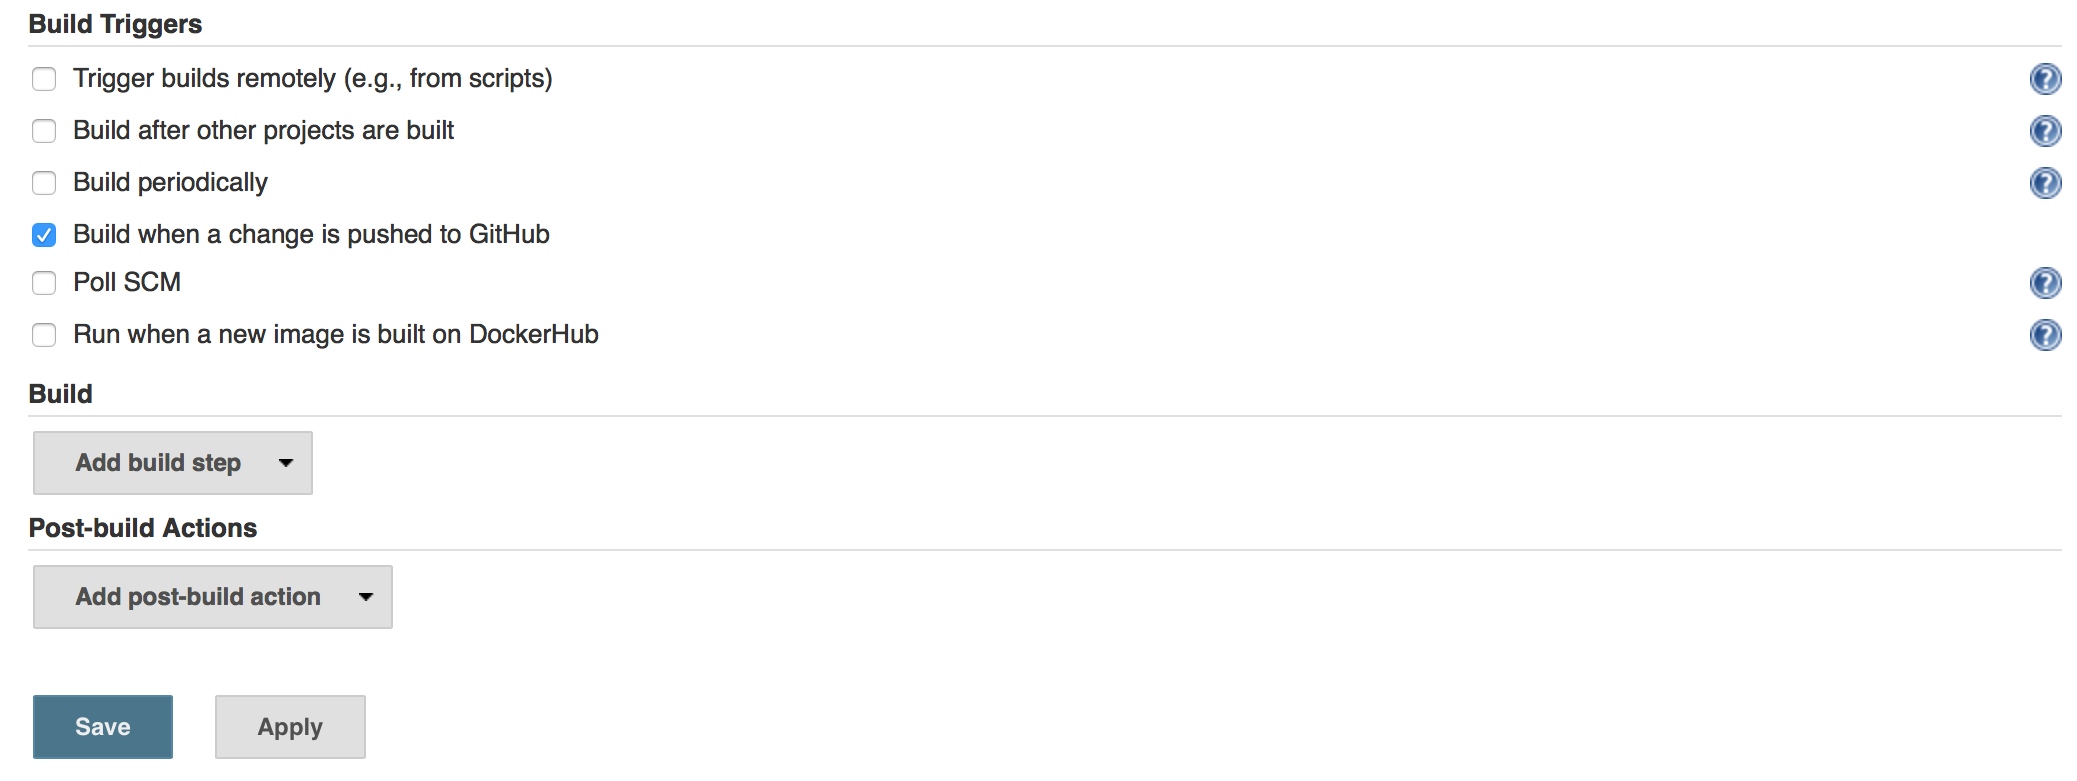
Finally, check the “Build when a change is pushed to GitHub” option in the “Build Triggers” section.
Hit the “Save” button and you’re done. You have successfully set-up the Jenkins project. In the next step, we will trigger it by pushing to the GitHub repository.
Configure the GitHub repository
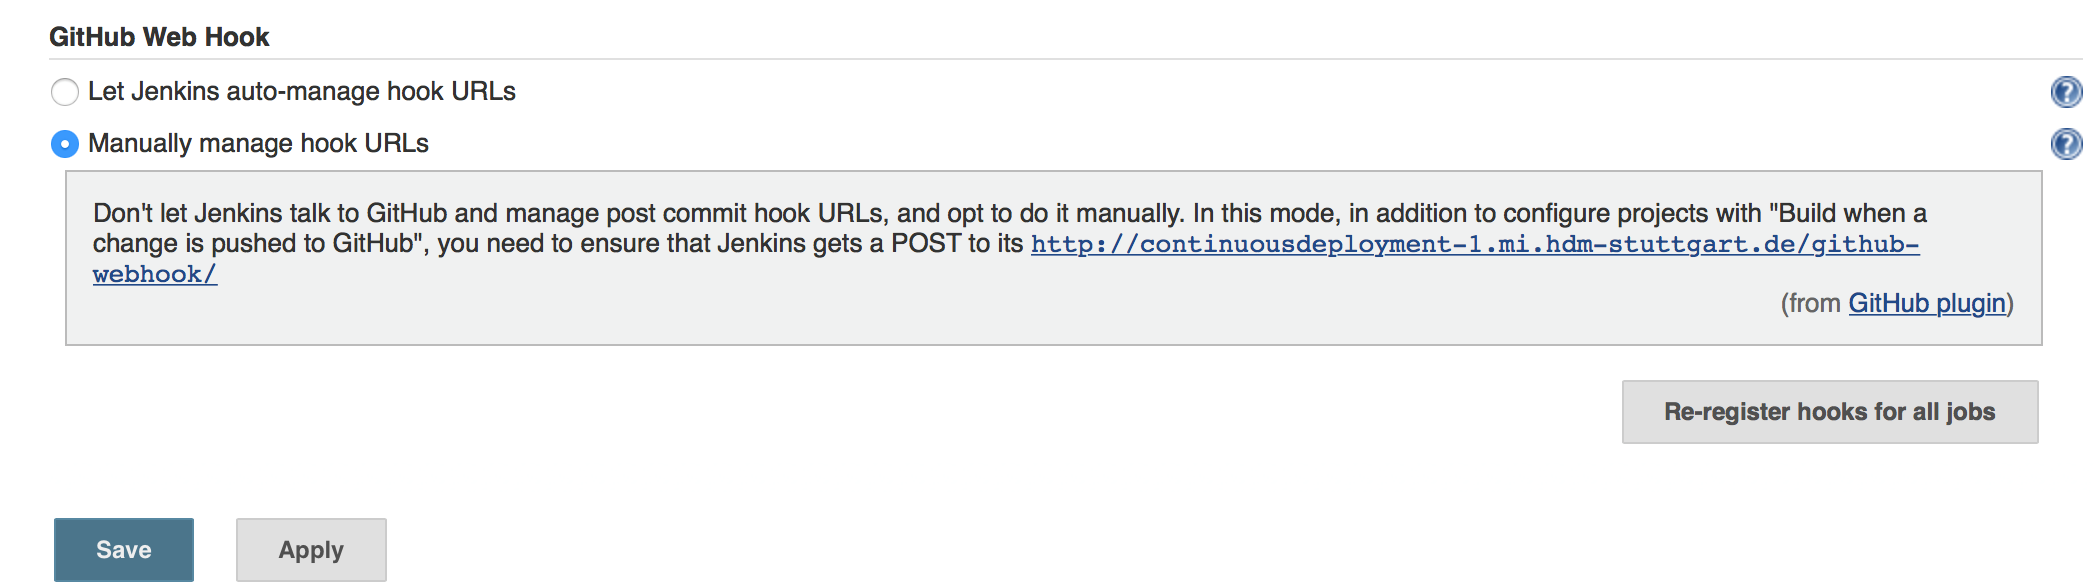
To be able to trigger the build process by GitHub, you have to configure the Jenkins instance which should be triggered after the push. For this purpose the Jenkins web hook URL is required and must be submitted in the GitHub project.
To fetch the Jenkins hook URL go to the Jenkins system settings (Manage Jenkins -> Configure System). Scroll down to the very bottom of the page and select “Manually manage hook URLs” in the “GitHub Web Hook” section. The hook URL will be shown when you’re clicking on the question mark icon on the right side. Usually, it consists of your hostname and the /web-hook/ postfix. Example: https://<your-domain-name>/web-hook/
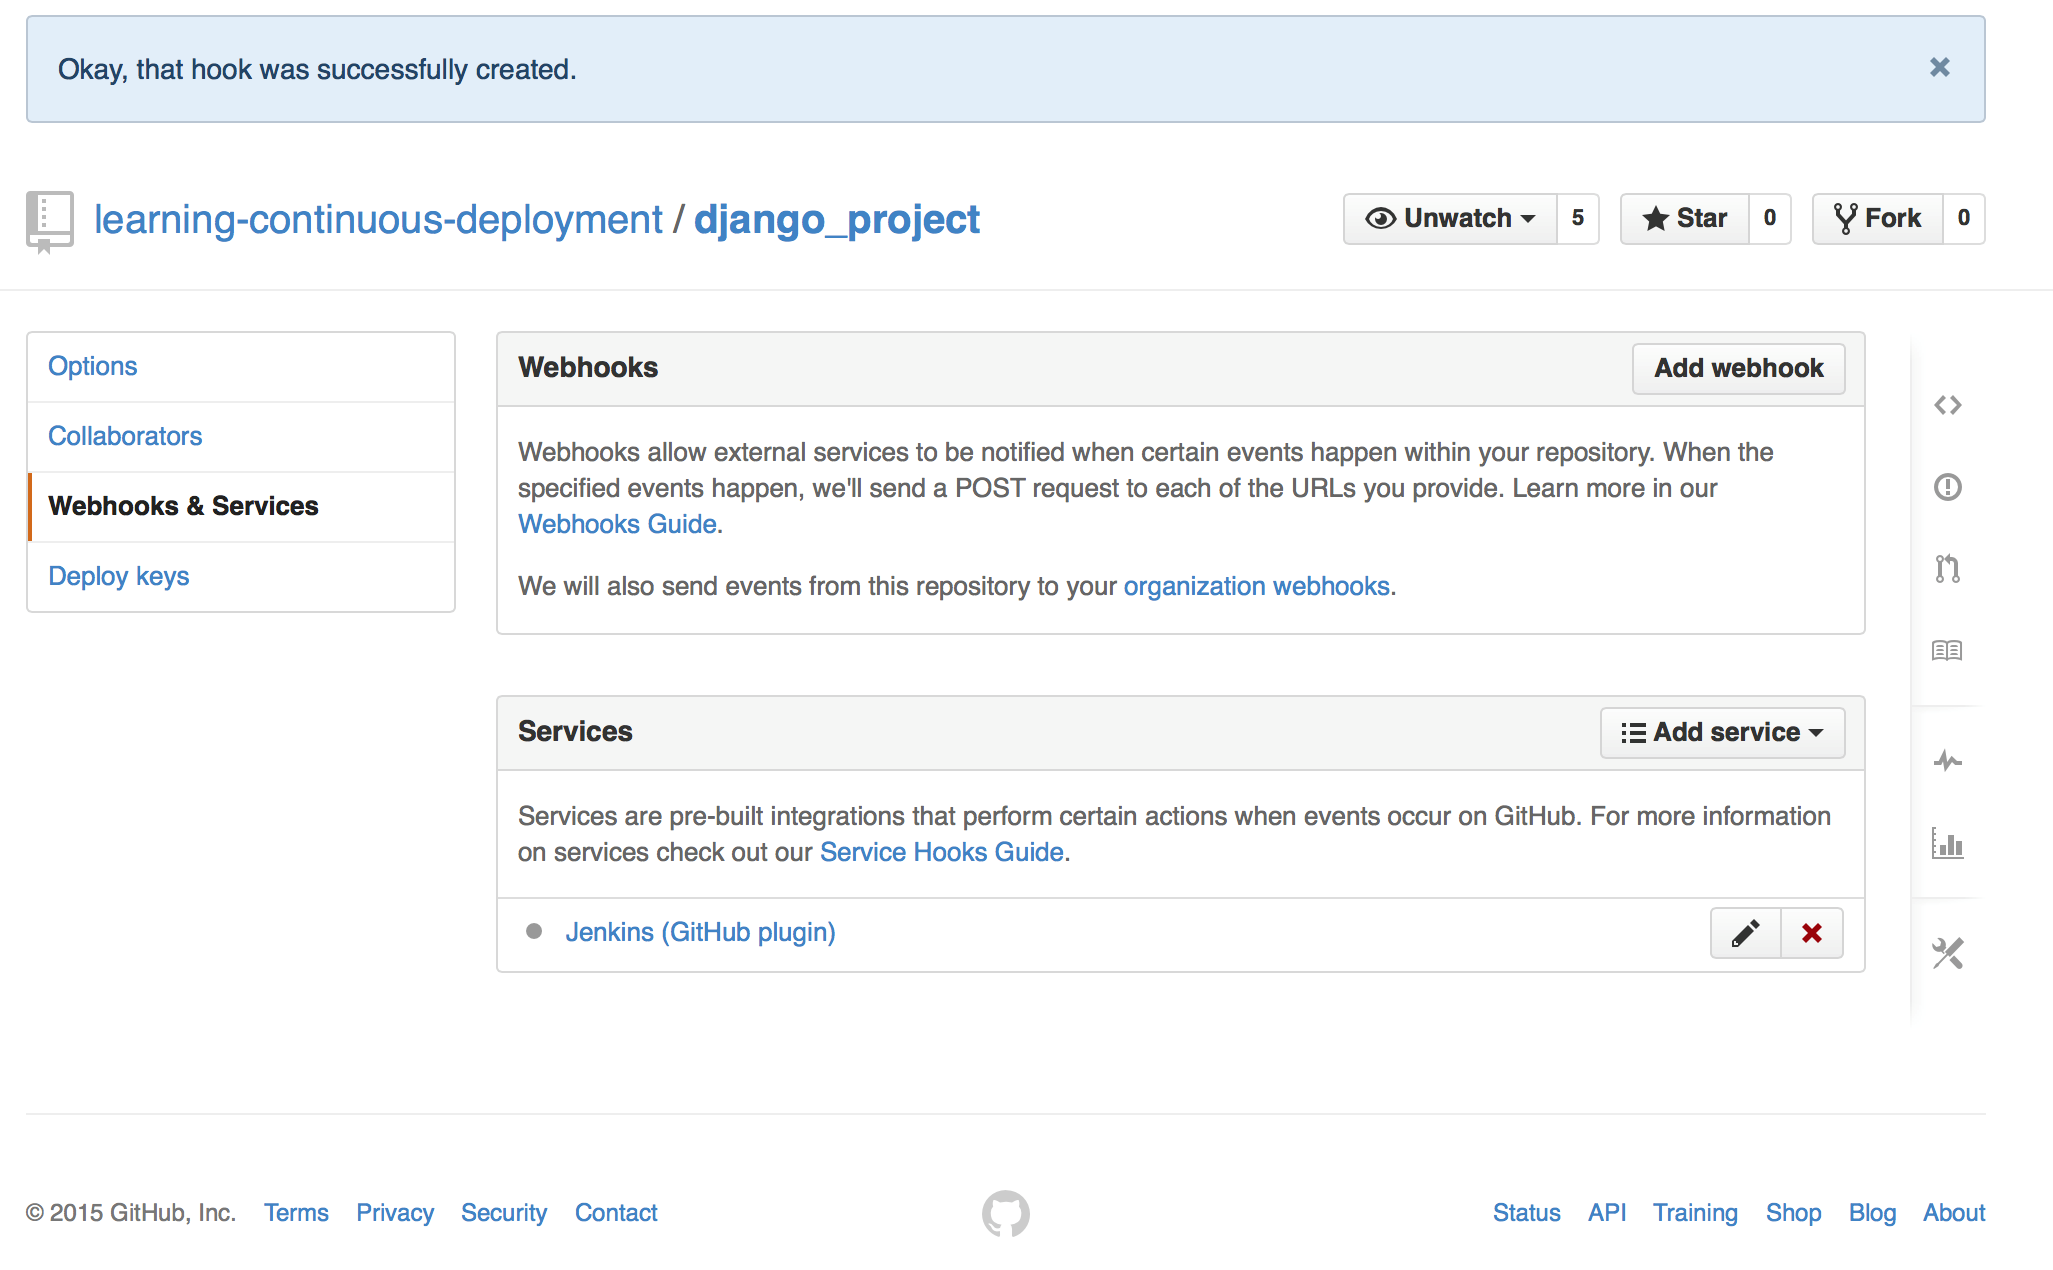
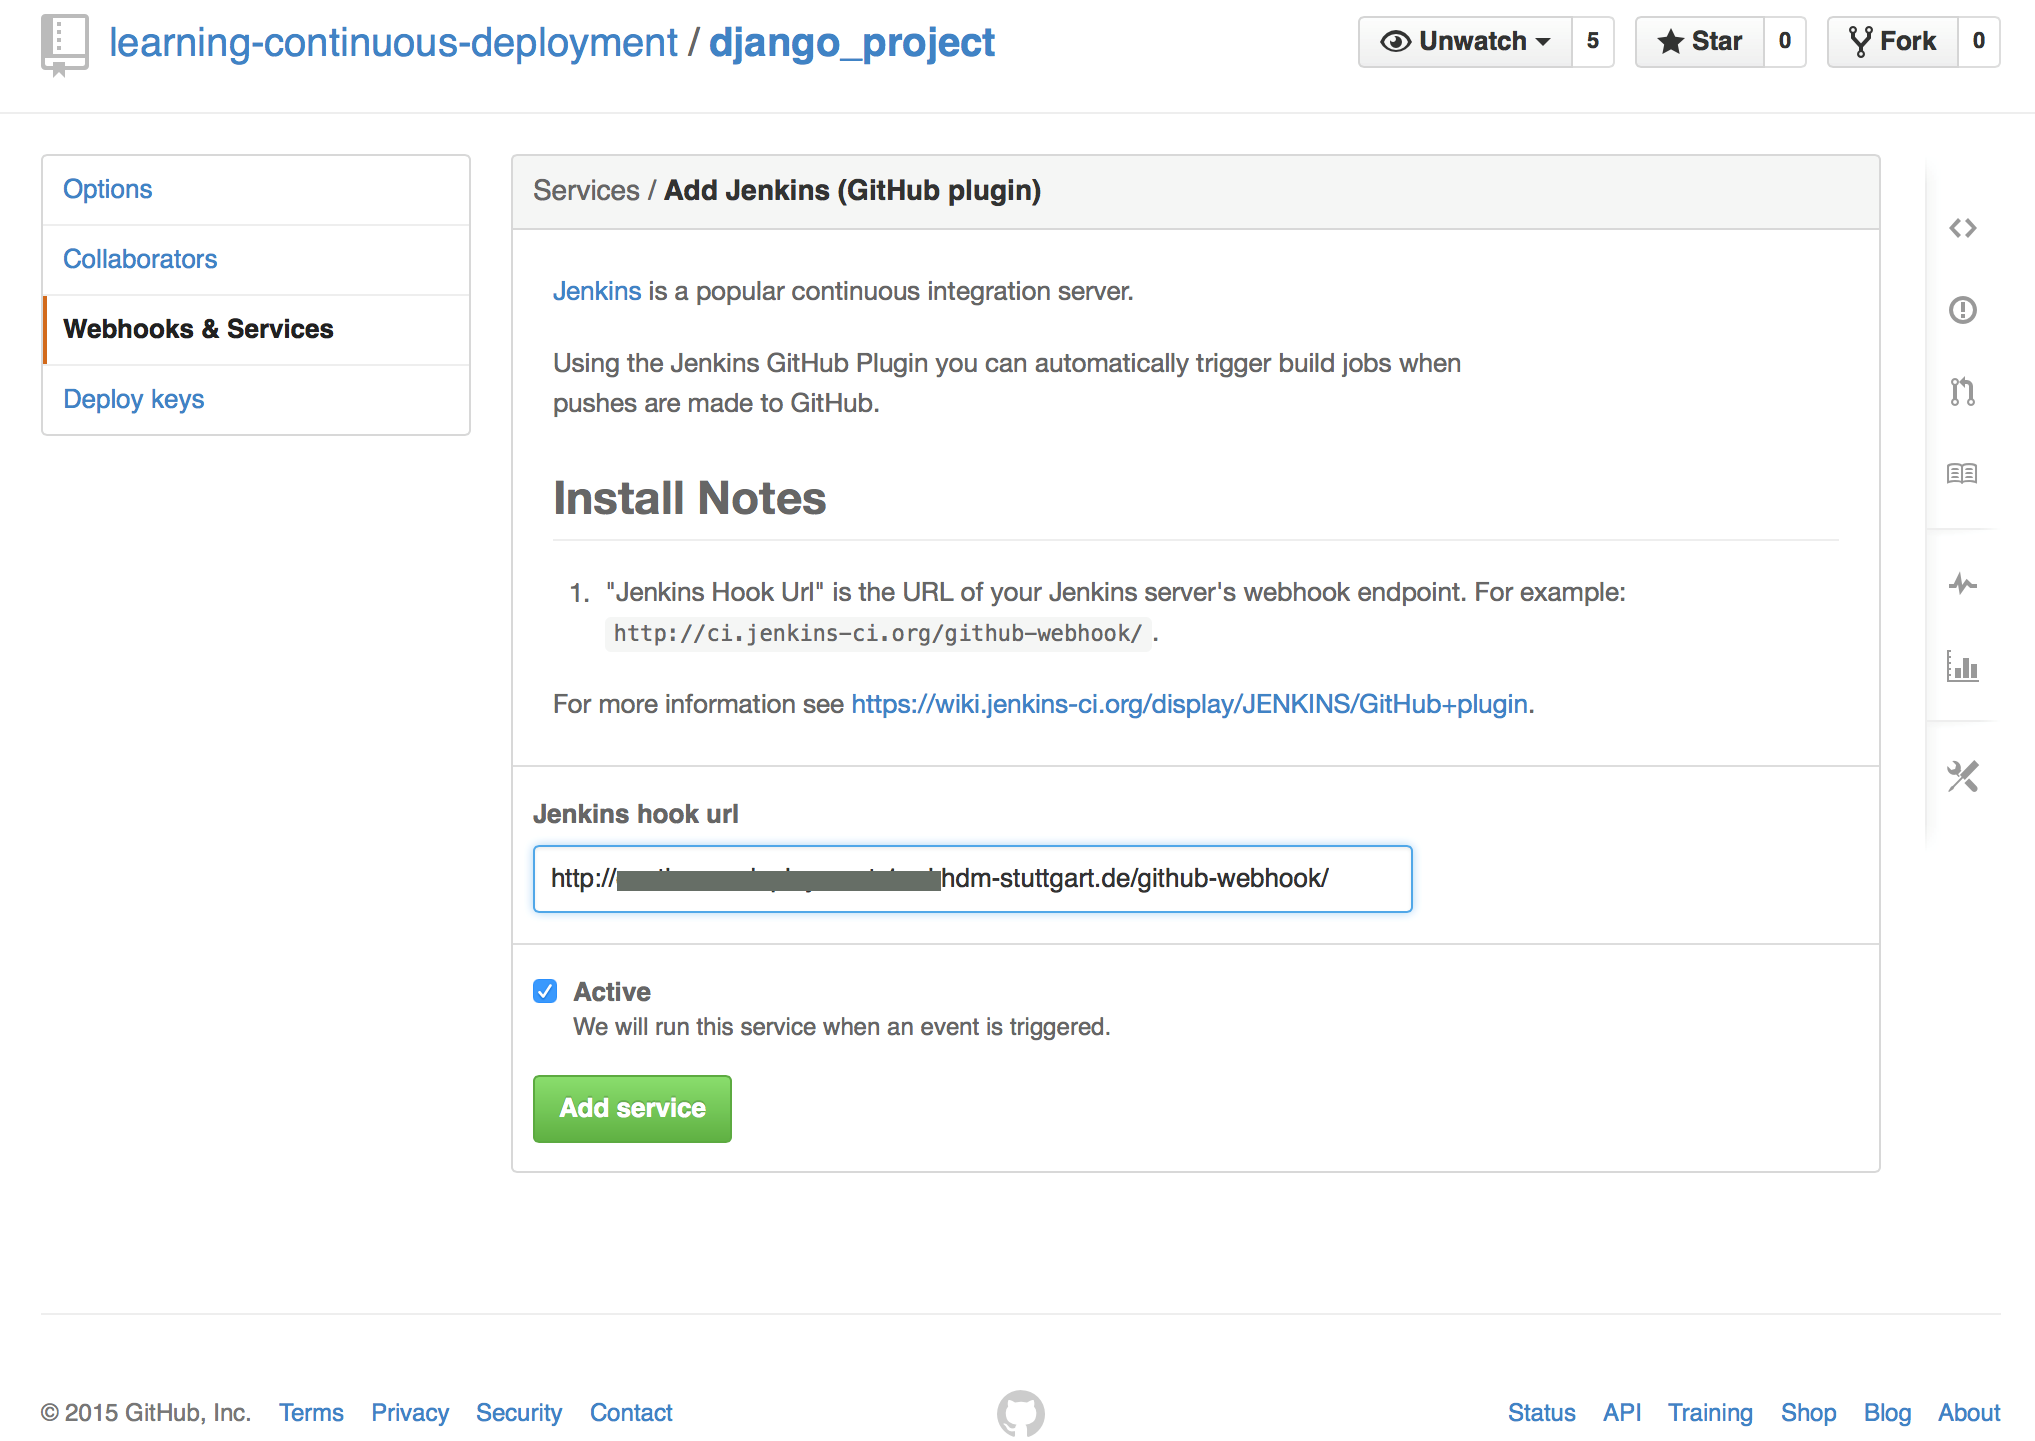
In the next step, enter your hook URL in the GitHub project. Thereto, go to your GitHub project settings and click on “Webhooks & Services”. Press the “Add service” button and choose “Jenkins (GitHub plugin)” from the service list.
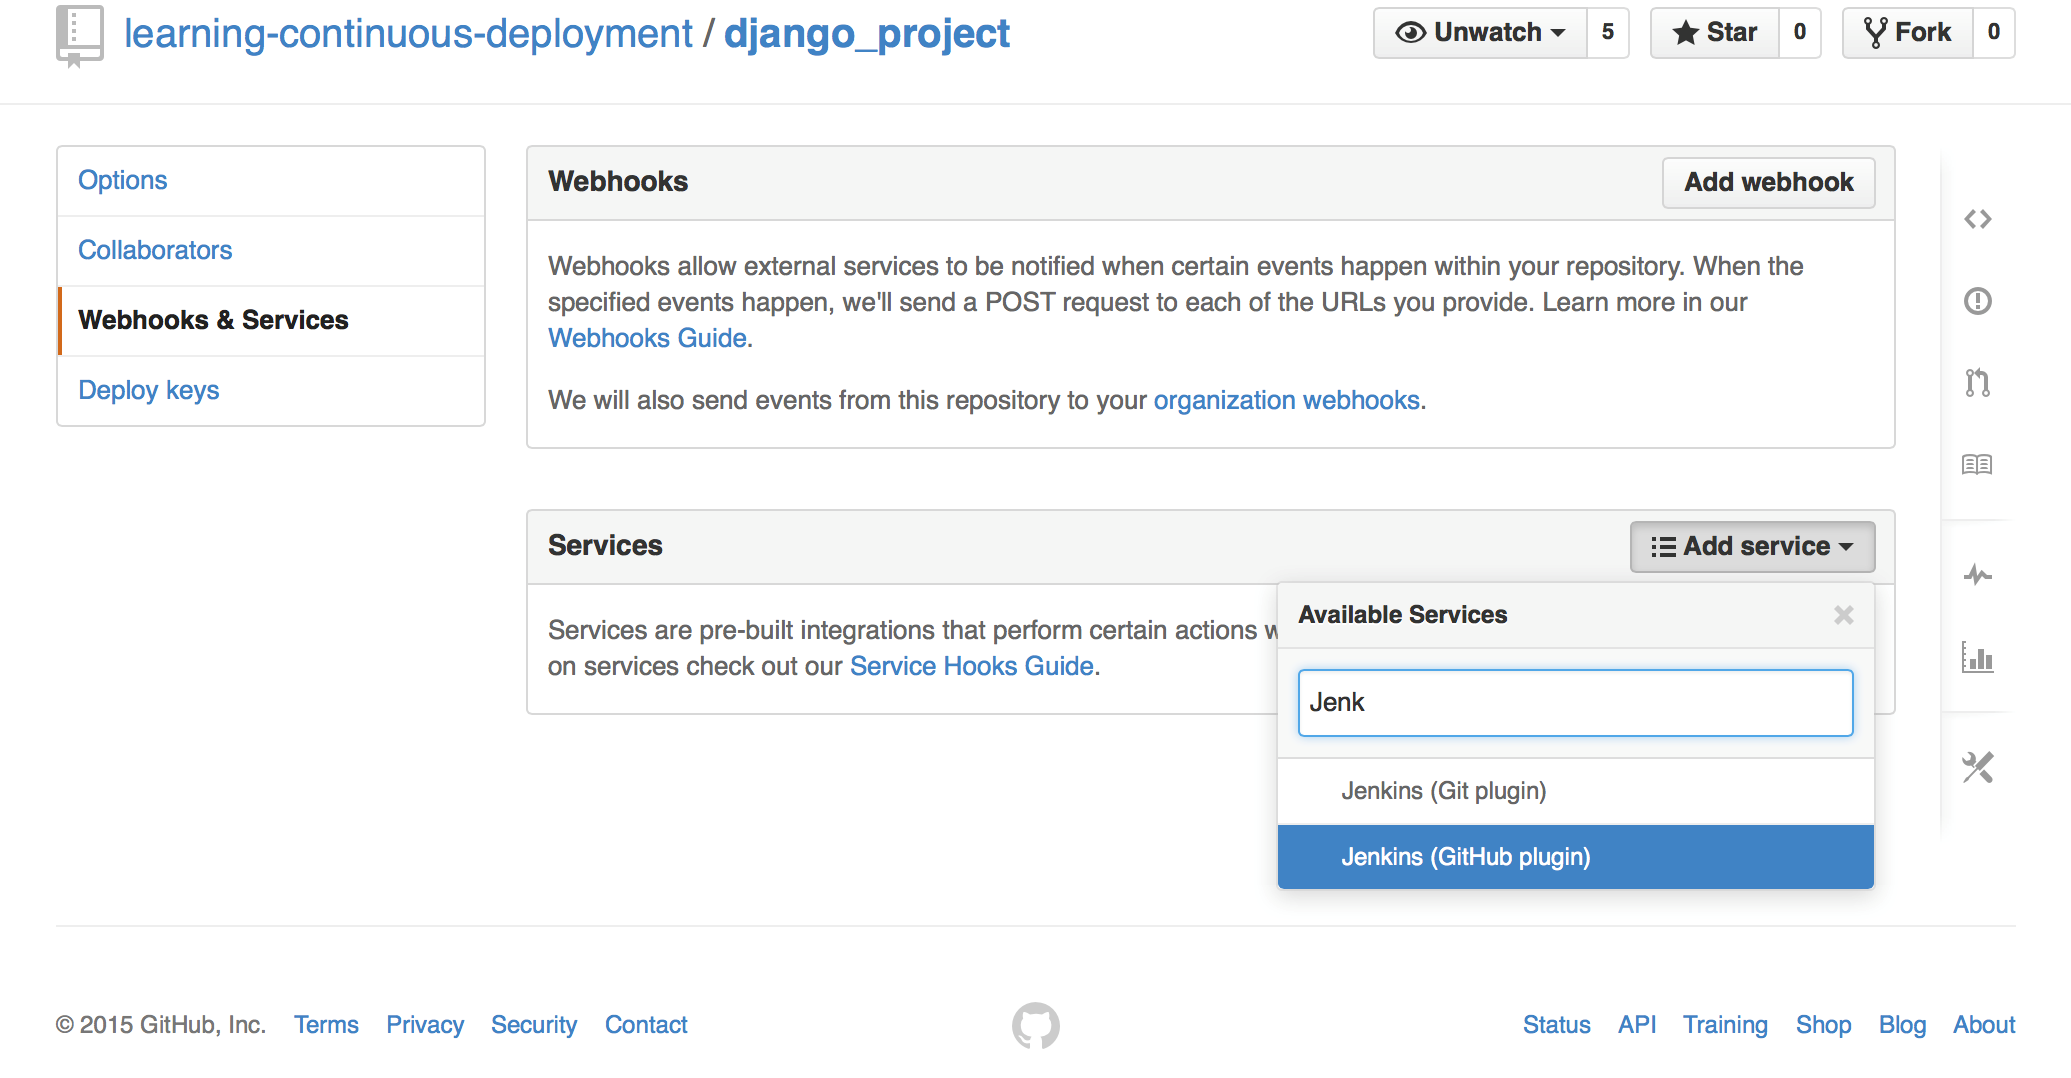
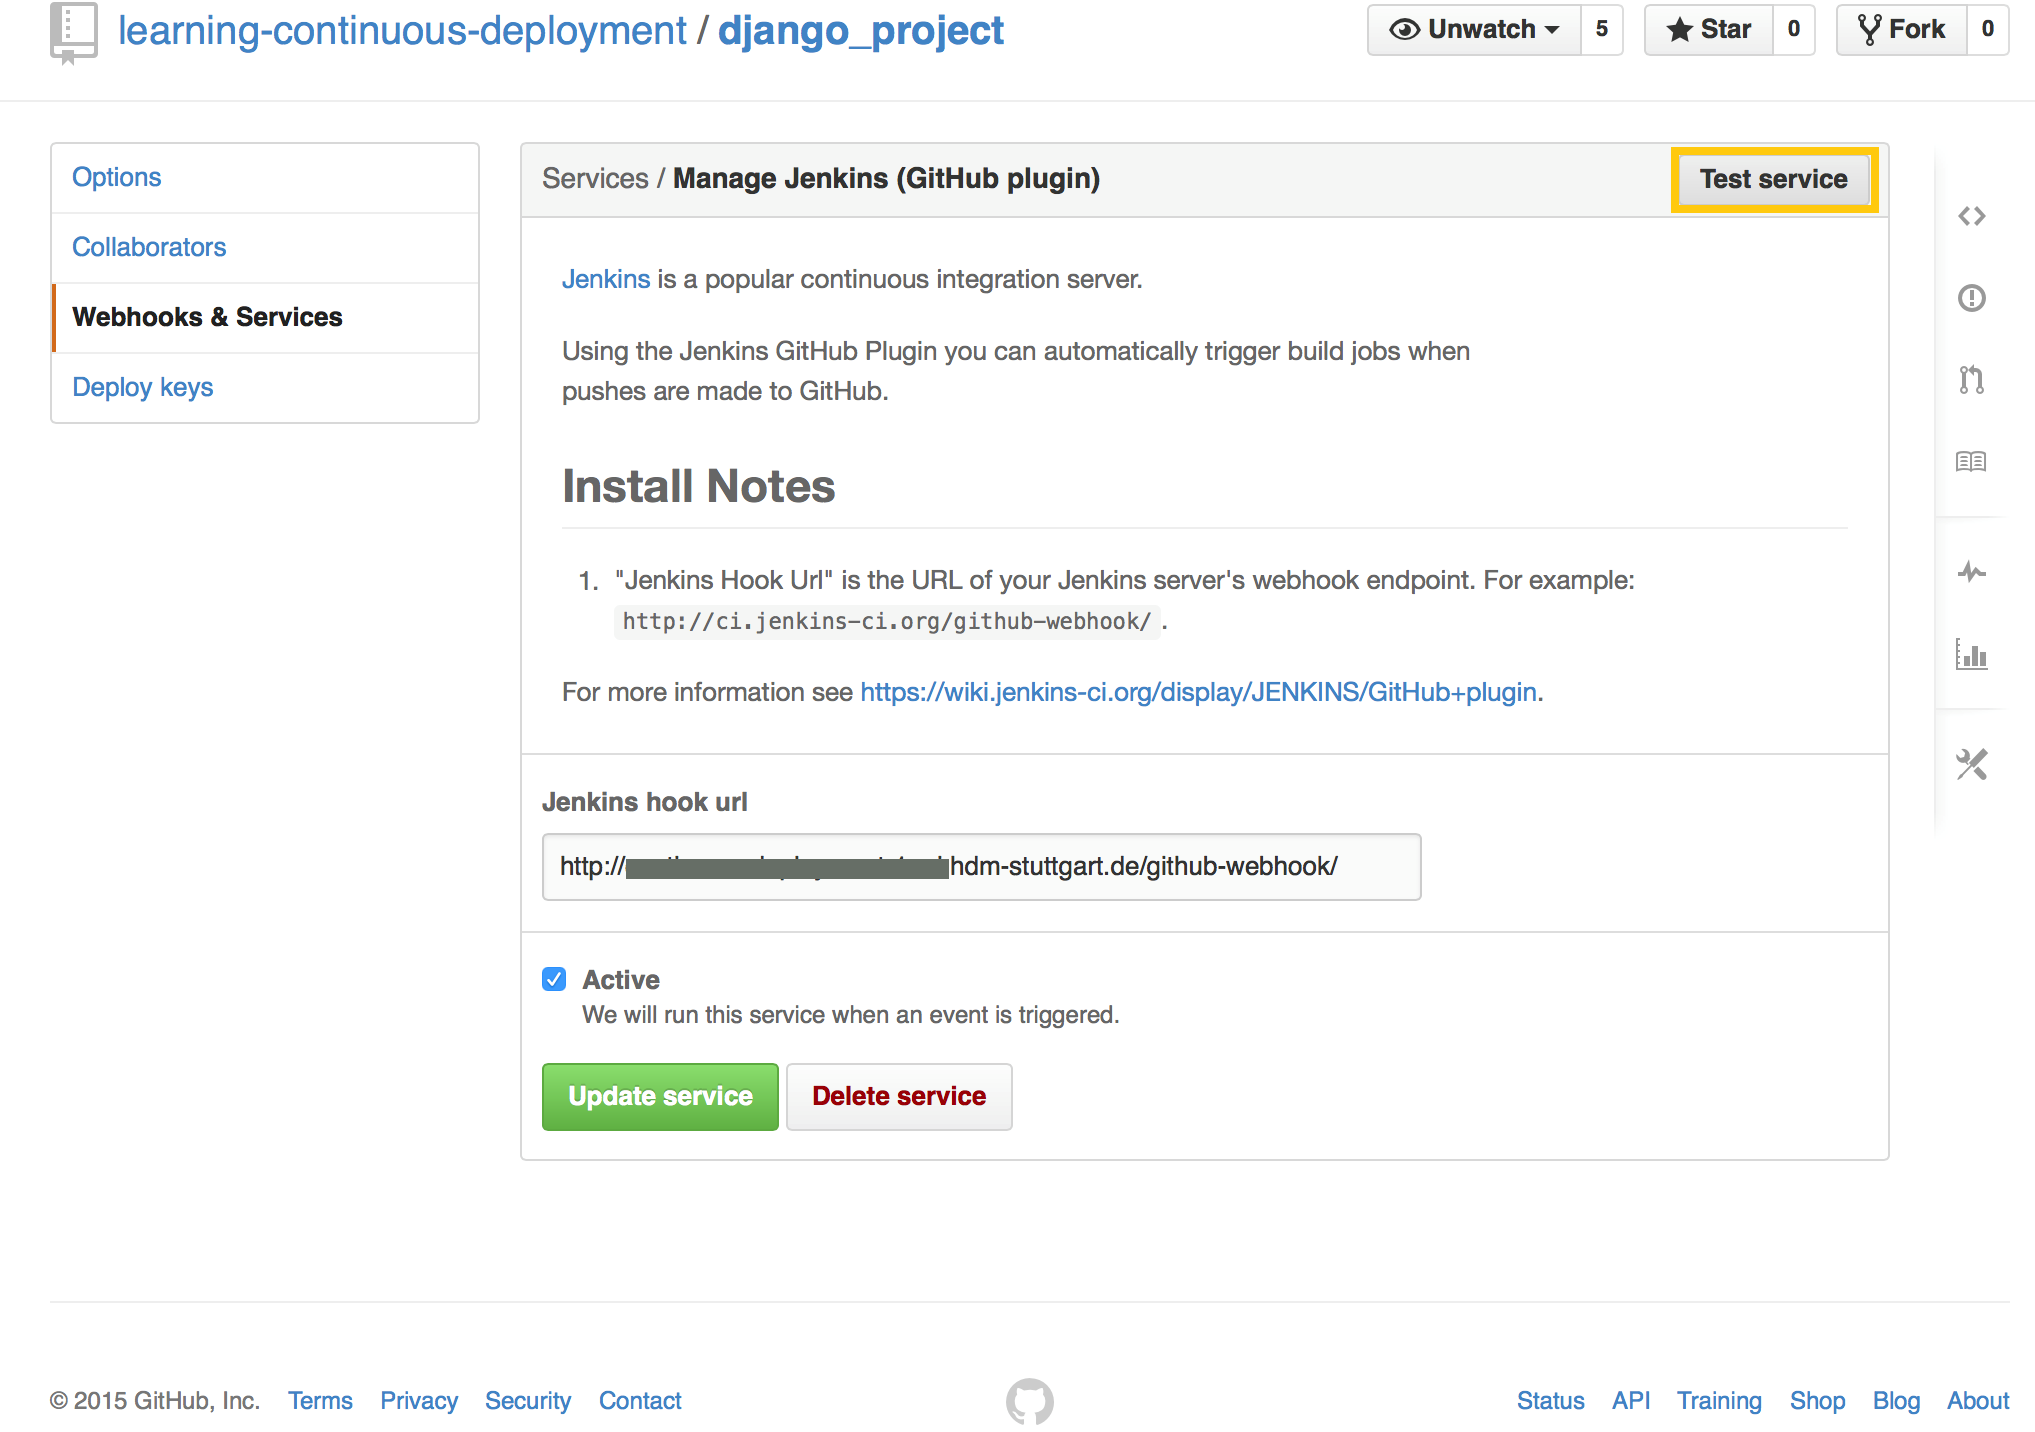
Enter your webhook URL in the “Jenkins hook url” field and press “Add service”.
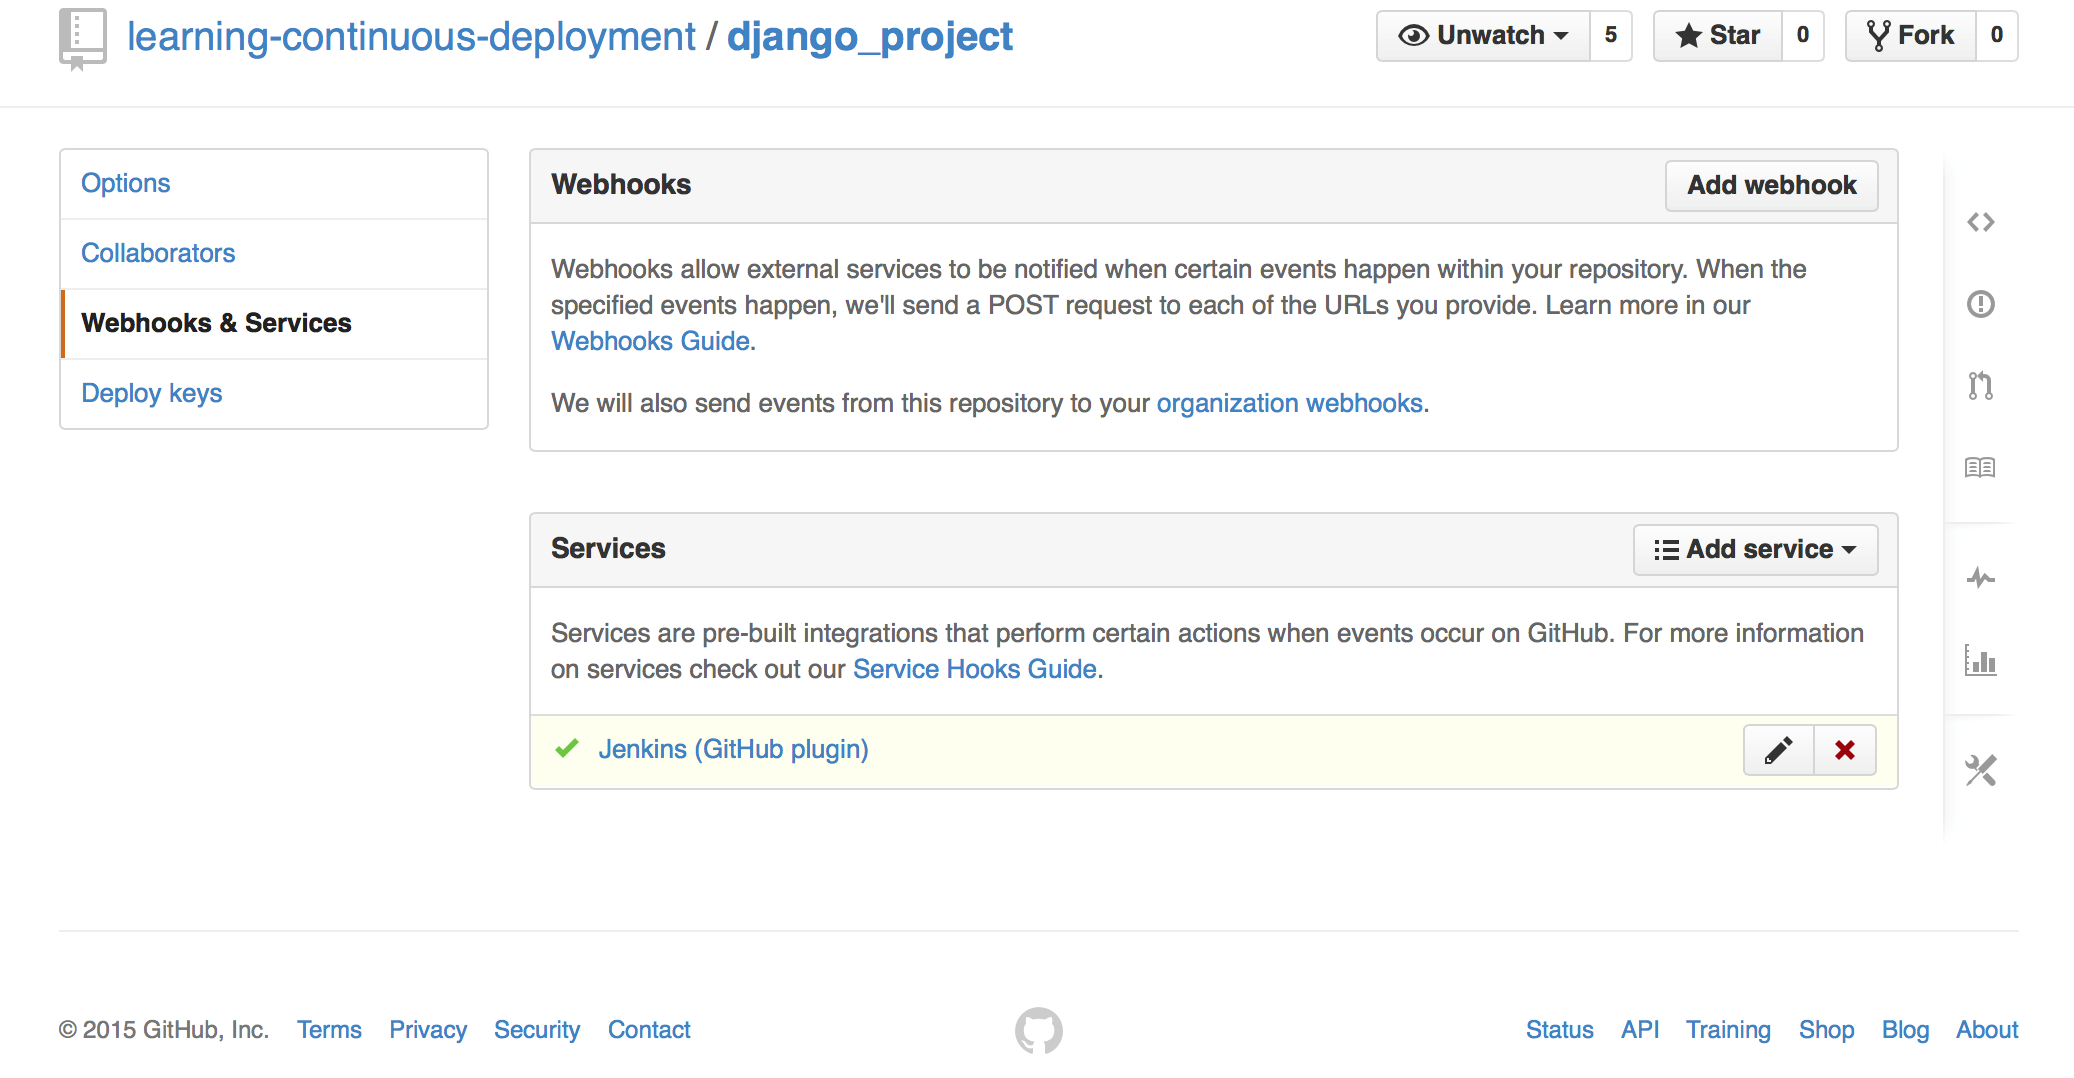
To verify that the hook is working, click on the created service and press the “Test service” button in the upper right corner. If everything is correctly configured, the Jenkins service has got a green checkmark icon in the service overview and the build process has started.